
DFU Mode is generally used for jailbreaking an iPhone, iPad or iPod. If you’d like to jailbreak your iPhone, iPad or iPod then this mode is something you are going to use regularly. So, it is better to know for yourself how to put iPhone in DFU Mode correctly.
What is DFU Mode?
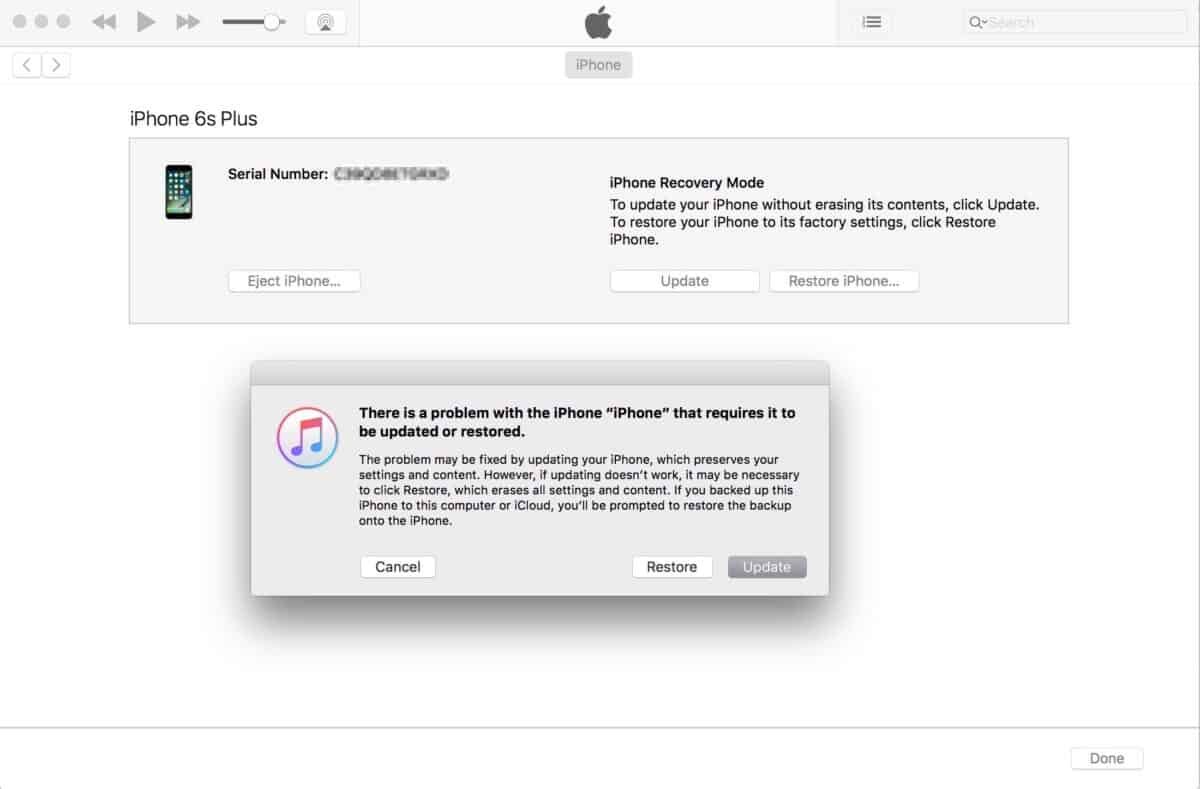
DFU Mode means “Device Firmware Upgrade” Mode. It establishes an interface between your device and iTunes without loading iOS or the boot loader. It is used for various purposes which cannot be done using Recovery Mode. In the below picture you can see how the screen looks like in this mode on an iPhone, iPod or iPad (in this case iPhone).

Purpose of using DFU Mode:
This mode in iOS is used for the following purposes:
- Downgrading the Firmware on your device.
- Upgrading the Firmware on your device.
- Rebooting Tethered Jailbroken device.
How to Enter DFU Mode?
- Connect it to the computer using a genuine USB cable and open iTunes or Finder.
- Long press the Power button along with the Volume Down button.
- Keep holding them both for 8 seconds. After that, release the Power button but keep holding the Volume Down button until a dark screen appears. Release all buttons immediately.
- You are successfully in DFU Mode.
However, if you see the Apple logo or Recovery Mode logo then this attempt to put the iPhone in DFU Mode has failed.
In that case, repeat the process from step 2.
When you are eventually successful in putting your iPhone in DFU Mode, give the computer some time to detect and download the required firmware.
From there start following iTunes’ instructions. At the end of it all, you should be able to restore your iPhone. Later, force restart your iPhone to exit DFU Mode. For help, follow the above guides to force restart your iPhone 7.
How to put the iPhone 6S and earlier iPhones in DFU Mode
- Connect your iPhone using the original USB connector to the computer and open iTunes or Finder.
- Long press the Power button along with the Home button.
- Keep holding them both for 8 seconds, after that release the Power button but keep holding the Home button until a dark screen appears. Now, release all buttons immediately.
- You are successful.

Make sure that no logos appear on the blank screen at this point.
However, if you see the Apple logo or Recovery Mode logo then this attempt to put the iPhone in DFU Mode has failed. In that case, repeat the process from step 2. When you are eventually successful in putting your iPhone in DFU Mode, give the computer some time to detect and download the firmware.
From there start following iTunes’ instructions. At the end of it all, you should be able to restore your iPhone. Later, force restart your iPhone to exit DFU Mode. For help, follow the above guides to force restart your iPhone.
How to Exit DFU Mode?

To Exit DFU Mode, hold down the POWER button and the HOME button at the same time for at least 15 seconds until the Apple logo appears.
The time taken to Exit DFU Mode is longer in the case of Jailbroken iPhones, iPads and iPods when compared to normal ones.
Difference between DFU Mode and Recovery Mode
The main difference between DFU Mode and Recovery Mode is that DFU Mode enables you to connect your device to iTunes without loading iOS operating system or boot loader, whereas in Recovery Mode it is compulsory. That’s the reason why DFU Mode is used in Jailbreaking.
Also during recovery mode, the screen shows an iTunes logo and a picture of the USB cable connected whereas in the DFU Mode the screen goes completely blank as shown in the above picture.
That’s it on this topic. Hope you found our step by step tutorial on how to put iPhone in DFU Mode useful.
")


